 Whatsapp For Training Query Only
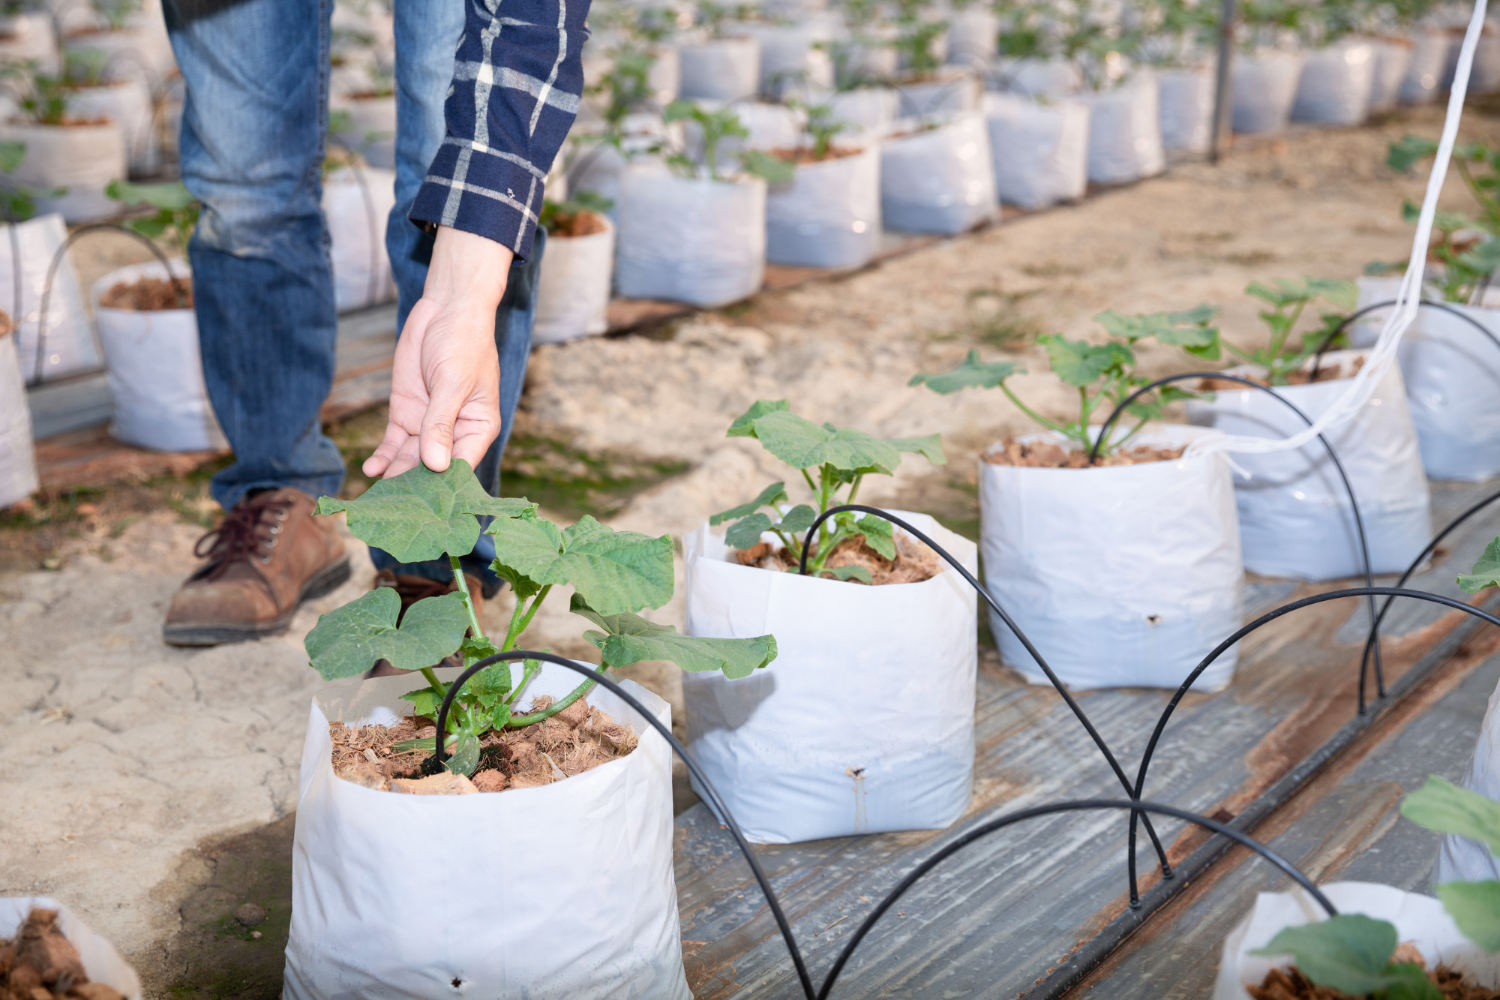
Hey there, gardening enthusiasts! Ready to dive into hydroponic farming at home? Whether you're a beginner or a seasoned grower, this blog will give you all the insights you need on two popular options for hydroponic setups: grow bags and Dutch Buckets. Both are reusable, versatile, and cost-effective, making them great choices for your hydroponic journey.
Ideal for growing plants in smaller or less-than-ideal spaces, both Dutch Buckets and grow bags are valuable tools in your gardening toolkit. But with both options offering great benefits, how do you decide which one is right for you? Keep reading to find out which one will work best for your hydroponic needs!
What is a Grow Bag?
Grow bags are containers used by gardeners to hold growing mediums like coco coir or cocopeat for cultivating a variety of plants. They are typically made from fabric or plastic and often feature handles for easy mobility. Lightweight and affordable, grow bags are a convenient alternative to traditional pots—they’re easy to store, hang, and move around. Available in a range of sizes and materials, grow bags typically come in sizes ranging from 5 liters to 35 liters. However, it’s important to note that after 2-3 growing cycles, you’ll need to replace them. Before choosing a grow bag, make sure to consider the type of plants you plan to grow, as this will help you pick the right size and material.
How to Use a Grow Bag
To start growing fruits or vegetables using grow bags in a polyhouse farming setup, you’ll need the following materials:
- Water
- Growing medium (such as perlite, coconut fiber, expanded clay aggregate, vermiculite, or Rockwool)
- Nutrients
- Fertilizer
- Plants or seeds
Grow bags are a great space-saving option since they can easily be placed on windowsills or porches. In this guide, we’ll walk you through the steps of using grow bags, with an example of growing tomatoes.
Step 1: Prepare the Grow Bag
Start with a 3-foot-long grow bag filled with compressed cocopeat. This size typically allows you to grow 3-4 plants. For our example, we’ll grow three tomato plants. Make markings on the bag where you want to place the plants and cut along the lines to create openings for each plant.
Step 2: Set Up the Irrigation System
Next, pass water through the grow bags. Place a submersible pump in a water reservoir, which will pump nutrients into an irrigation line, distributing them to your plants via drip emitters.
Step 3: Ensure Proper Drainage
To ensure good drainage, make 2-3 small slits (about 0.5-1 inch) on the bottom surface of the grow bag. This will prevent waterlogging, allowing excess water to drain away and improving root health. Once this is done, transplant the seedlings from their starter trays into the grow bags.
Step 4: Watering and Maintenance
While hand-watering your tomato plants might be manageable for the first few weeks, it’s more efficient to install an automated drip system later on. Here’s what you’ll need to set it up:
- End caps and tee joints
- Spaghetti tubes
- Drip tubes (typically 12mm)
- Reservoir
- Programmable timer
- Submersible pump
With these steps, you’ll be well on your way to successfully growing tomatoes (or any other plants) using grow bags in a hydroponic system!
What is a Dutch Bucket?
If you’re new to hydroponics, you may not be familiar with the Dutch Bucket system. Also known as a Bato bucket, the Dutch Bucket is a hydroponic setup where multiple growing containers are connected to the same drainage and irrigation lines. These containers allow plants to grow with their roots submerged in a nutrient-rich solution.
In a Dutch Bucket system, pipes deliver water, similar to the Nutrient Film Technique (NFT). A central reservoir holds the nutrient solution and water, and pumps deliver this nutrient-rich water into angled channels where the plants grow. The excess water then drains back into the reservoir, ensuring that the plants receive continuous nourishment. You can easily find Dutch Buckets and related hydroponic equipment from suppliers like Ponic Greens in India.
How is it Used?
Dutch Buckets are incredibly versatile and perfect for growing a wide range of plants. They can be used for both aeroponic and hydroponic farming due to their flexible design and customizable features. While building a Dutch Bucket system may involve an initial investment, it offers durability and scalability for growing plants at any scale. Here’s how to set up Dutch Buckets for growing fruits or vegetables:
- Select a combination of perlite and hydroton (expanded clay aggregate) as your growing medium. Fill 3-5 gallon buckets or Bato buckets with this mixture.
- Place your plants inside the buckets and arrange them in a row.
- Ensure that a water line runs from the reservoir's water pump along the length of the system. Water channels should be connected to the water line.
- The water line will continuously flow through the angled channels, providing nourishment to the plants. Unlike the Deep Water Culture (DWC) system, the Dutch Bucket setup releases a small amount of water periodically to prevent plant roots from rotting or drowning.
This setup ensures a steady flow of nutrients and oxygen, helping your plants thrive efficiently.
What Can Be Grown?
Both the Dutch Bucket System and Grow Bags are excellent for cultivating a wide range of fruits and vegetables. These systems are perfect for growing plants with deeper roots that require more space, such as eggplants, potatoes, squashes, cucumbers, pole beans, peppers, and more.
Vining plants, like tomatoes, are particularly well-suited for both Dutch Buckets and Grow Bags. Additionally, these versatile systems can also support the growth of compact plants with shallow roots, such as microgreens, herbs, spinach, and lettuce. Whether you’re growing larger vegetables or small, quick-growing plants, both setups make it easy to create a thriving garden.
Grow Bag vs Dutch Bucket
Grow Bag Pros:
Can Be Used Anywhere
Grow bags are perfect for expanding your garden in spaces you once thought were unusable. Whether it’s a small balcony or a rented yard, grow bags give you the flexibility to maximize your available space.
Promote Healthier Roots
Grow bags encourage air pruning of the roots, preventing the root circling seen in pots. This prevents overcrowding and reduces the risk of water stagnation and aeration problems, allowing the roots to grow more freely.
Temperature Control
Made from breathable fabric, grow bags allow excess heat to escape, unlike plastic pots that trap heat and can "cook" your plants. This keeps the roots cooler and helps maintain healthier growth.
Better Storage
When not in use, grow bags can be folded and stored easily, saving space compared to bulky pots that can become an eyesore.
Versatile
Grow bags come in a variety of sizes, are lightweight, and often have built-in handles for easy mobility. You can even plant them directly in the ground to avoid transplant shock.
Seamless Watering
The porous fabric of grow bags ensures that excess moisture is wicked away if you over-water, making watering simple and efficient.
Some Are Biodegradable
Certain grow bags are biodegradable, breaking down naturally when planted in the ground.
Grow Bag Cons:
- Some Are Non-Biodegradable
Not all grow bags are biodegradable, so you’ll need to be mindful of their environmental impact.
- Frequent Watering Needed
Grow bags dry out faster than pots, so they require more frequent watering.
- Less Durability
They are not as durable as pots and may need to be replaced after 2-3 growing seasons.
- Can Get Heavy
When fully watered, grow bags can become heavy (up to 25 pounds or more), making them difficult to move around.
- Require Frequent Replacement
After two growing cycles, grow bags should be replaced to maintain optimal growing conditions.
Dutch Bucket Pros:
- Can Grow Multiple Large Plants
Dutch buckets are ideal for growing larger plants or multiple plants at once, offering a great solution for more expansive crops.
- Easy to Set Up
These systems are simple to install and don't take up much space, making them perfect for small-scale operations.
- Less Work for Water Changes
With the Dutch bucket system, water changes are easier and require less maintenance compared to other hydroponic setups.
- Long-lasting
Dutch buckets are durable and built to last, providing a long-term solution for hydroponic gardening.
- Individual Plant Care
You can address pest or disease issues more easily by isolating and removing affected plants without impacting others in the system.
Dutch Bucket Cons:
- Pests and Diseases Spread Quickly
Because the plants are connected, pests or diseases can spread rapidly throughout the system if not managed properly.
- Water Channels Can Clog
The water channels used in the Dutch bucket system can get clogged over time, requiring regular maintenance.
- Higher Initial Cost
The Dutch bucket system can be more expensive to set up than other methods.
Final Verdict:
For growers looking to maximize space and grow larger plants, the Dutch Bucket System is an excellent choice. It’s versatile, easy to set up, and perfect for hydroponic hobbyists. However, if you’re looking for a more portable, low-cost option, grow bags may be the way to go. Both systems have their advantages, so choose based on your specific gardening needs!